Learn How To Create Wordpress Shortcodes In This Great Step by Step Wordpress Tutorial

UBL Designs Blog
HOW TO CREATE WORDPRESS SHORTCODES - TUTORIAL
Hi guys and welcome to our first Wordpress tutorial!
In this tutorial we will be looking into creating shortcodes, we will show you a couple of basic shortcodes that will hopefully spur you on to making a more dynamic and powerful shortcode.
Stage 1 - Creating The Function
First we create a function to what it is, we will be making a very basic one for the first one, just to ease you into it.
We will be making a h1 tag. So let go ahead and call it ubl_h1tag. You will always need to create a custom name which will not be used by anyone else due to the fact Wordpress only accepts 1 function name.
So open up the functions.php file within your theme and lets write the function.
<?php
function ubl_h1tag($atts, $content = null){

}
?>
As you can see from the code above we start with the php open tag which allows the server to know this bit it php coding.
If you have put this function within the php opening tag already you will not need this or the last ?>.
We then call the function ubl_h1tag as said above, then we use the () to state there is something or nothing needed to make this function work.
Inside the brackets we use the $atts which is the attribute, and the $content as null.
The attr is stating that an attribut might be present so if it does, we are ready to use it, and the content = null means that we want the content to be present but if it isn't then lets not worry.
We then use the curly braces to open and close the function.
Stage 2 - Adding Code To The Shortcode Function
return '<h1>' . do_shortcode($content) . '</h1>';
First things first, on every shortcode function you always need to use the return function so that the function knows it has to return/output the information the function is creating.
We then use single quotes to wrap the
, this is because we are telling php that this bit is html and not php.
We then concatenate on to this html section with the fullstop ".", we do this so that php knows that we want to append something on the end of the html section.
After the concatenation we use the do_shortcode which Searches content for shortcodes and filters shortcodes through their hooks.
You can learn more about this function by clicking this link.
After this we then concatenate again and then close the h1 tag using the single quotes again.
So now you should have something that looks like this:
<?php
function ubl_h1tag($atts, $content = null){

 return '<h1>' . do_shortcode($content) . '</h1>';

}

?>
Stage 3 - Adding The Shortcode Function
add_shortcode('h1', 'ubl_h1tag'); This is the magic bit, this is what makes it a shortcode.
We use the add_shortcode function, we then open and close with the brackets.
We wrap the h1 with single quotes and use a comma to seperate it from the next section which is ubl_h1tag which again wrapped in single quotes. we then use the semicolon at the end to tell php we have finished.
Ok the first add_shortcode function does exactly what it says, it adds this the shortcodes within your Wordpress theme.
The section h1 is basically telling the shortcode to activate this shortcode everytime you use the [h1] within your Wordpress text editor.
The ubl_h1tag is calling the ubl_h1tag function.
So now you should have something like this:
<?php
function ubl_h1tag($atts, $content = null){

 return '<h1>' . do_shortcode($content) . '</h1>';

}

add_shortcode('h1', 'ubl_h1tag');

?>
Conclusion To Our Wordpress Shortcodes Tutorial
Now we have created our first shortcode, you can use this shortcode to use the h1 header in your Wordpress by simply doing this:
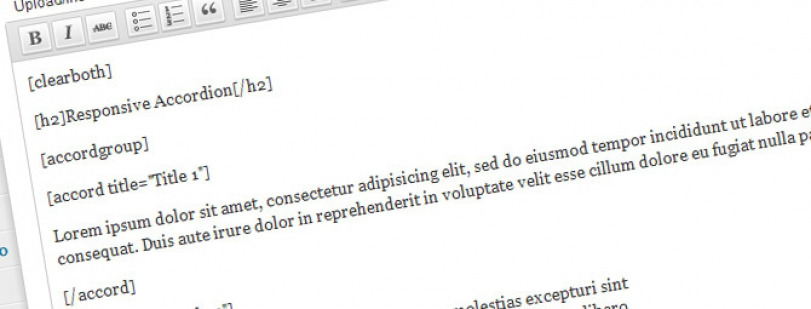
[h1]H1 Title Goes Here[/h1]
In our next tutorial we will be looking into making a more complex shortcode and showing you how to use attributes.
Until then, have a gooden :)
If you liked this tutorial please share with the world!
Comments are now closed for this post... – UBL Designs