Learn how to design a great looking business card ready to print in this great step by step photoshop tutorial

UBL Designs Blog
DESIGN A PRINT READY BUSINESS CARD IN PHOTOSHOP
In this tutorial I will show you how to create a print ready business card for your company. With using the most simple of techniques you will see that you can design a very attractive modern print ready business card that will enhance your company brand awareness as well as save you a few pounds on designer fees!
Step 1
First lets open up photoshop and get our document which is 9cm x 6cm, CMYK and 300dpi.
Now goto View/New Guide and select "Vertical 0cm" and then do the same but instead of 0cm do 0.5cm, again but with the size 8.5cm and again but with 9cm. Now goto View/New Guide and select "Horizontal" 0cm and then do the same but instead of 0cm do 0.5cm, again but with 5.5cm and again but with 6cm. This will be our bleed of 5mm which most printers need for quality printing. You should now have something like the image below!
.jpg)
Step 2
Now its time to gradient, so click the gradient tool or just press (G). Making your forground colour #2b272a and your background colour #3c353a and now drag it from bottom left to top right and you should have something like the image below!
.jpg)
Step 3
Now double click on your background layer and make it into a editable layer. Click here to download the pattern in question and use this for your pattern with an opacity of 10. To do this double click on your layer again and select pattern. You should now have something like the image below.
.jpg)
Step 4
Now click on the Rectangle Tool or just hit the (U) key. Making sure your forground colour is #ffe512 and do a rectangle shape like what is shown in the image below!
.jpg)
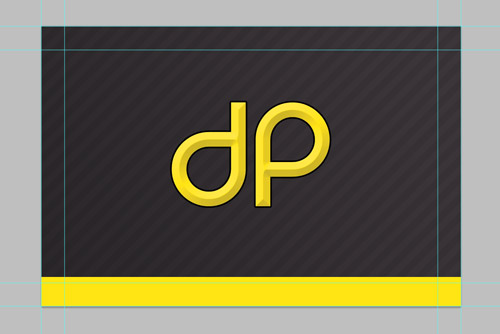
Step 5
No type your logo name, ive just put DP with the rez font and styled it as follows: Bevel and Emboss: Inner bevel, Chisel Hard, Depth 11%, Direction Up, Size 21 and soften 0, all the rest on that is standard...
Contour straight line at 50%...
Colour Overlay is #ffe512 at 100% opacity...
Stroke is 4px and black, now you should now have something that looks like the image below!
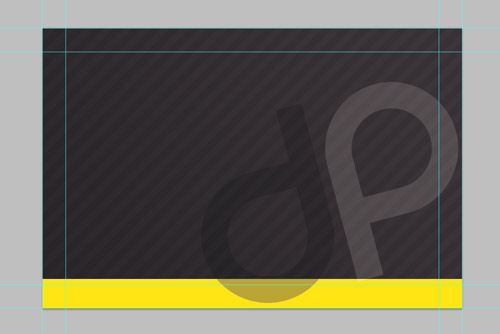
Step 6
Ok the front is now done and ready for print. Now in the layer section on the right hand side click the folder button to create a folder, now drag all layers into this folder apart from your background and yellow rectangle... Call the folder "front". (Now hide the front)
Now grab your text tool and type your logo and use white for half and black for the other half. Make the font about 180pt depending on what font you use it will be bigger or smaller than is needed, Make it so it overlaps the bleed lines and set the opacity to about 20%.
You should have an image like the one below!
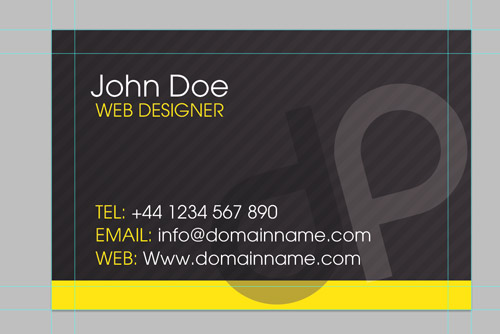
Final Step
This is the final stage, simply write your details out and you should have something like the image below.
Comments are now closed for this post... – UBL Designs