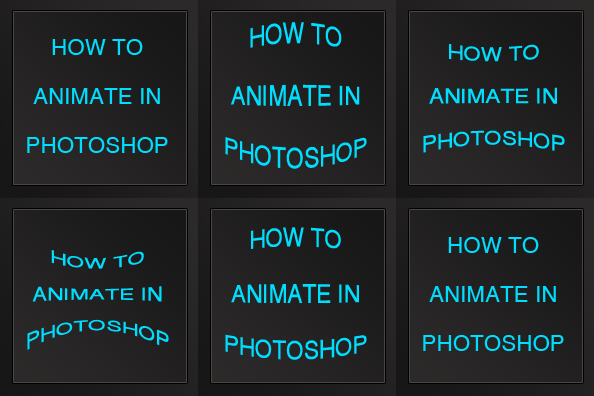
Follow this great step by step photoshop tutorial which shows you to make animations in photoshop

.jpg)
UBL Designs Blog
HOW TO MAKE ANIMATIONS IN ADOBE PHOTOSHOP
Within this tutorial We take you through the steps on how to create an animated banner within Adobe Photoshop using the animate functions. Hopefully at the end of this tutorial you will be able to create your very own motion banner for your site!
Anyway enough of talking what this is about and lets get on with it!
Step 1
Create a new document and set to 198px x 198px. Now do something for your background colour or image... I have done:
.jpg)
Step 2
You can use images or just simply draw per frame but i am going to do something simple and just use text for this tutorial, type in something you want to animate like the image below.
.jpg)
Step 3
Now go to Windows/Animation and a window should pop up or appear somewhere on your photoshop dashboard!
Now click the animation panel icon, if you dont know where it is see image below.
.jpg)
Now scroll down to Ducument settings and set to 2 seconds on 12 fps and click ok. Now click the dropdown on the layer within the animation dashboard next to the image. You should now see some text which says: Position, Opacitt, Style etc.
Move click the clock in the Text warp and you should see a yellow diamond popup on the time line, now at the arrow at the top of the animation time frame and drag it to 8f and click the dimond next the the arrows in the text warp section to the left, It isnt highlighted untill you click it.
Now hit the T key (Text Tool).
Now drag the time line again and click the diamond on the left have side, once you have done that click the create text warp icon at the top of the page, use the Bulge effect and set at Bend +30 and press done.
You should have an image like below.
.jpg)
Step 4
Now drag the timeline to the 01f after the 1 second timeframe and click the diamond again to the left. Now click the create warp text icon again at the top of the screen. Again use the Bulge effect and this time set it -39. You should have something like this.
.jpg)
Drag timeline to 3f and click the diamond again, back to the text warp at the top of the screen and use Bulge and set to +17.
You should have something that looks like:
.jpg)
Step 6
Drag the timeline for the last time to 5f and click the diamond again. Again click the text warp at the top and now set the effect to None.
Final Step
Making sure your timeline is back at the start. Now go to Files/Save For Web And Devices, Set as gif and use what ever colours you want. I have set to 256 on mine. Make sure you change the Looping Options to Forever and click save.
You should have something that looks like:

Comments
Ahshanul 22 Nov, 2014
Really amazing proses of make a animation. I am impress.
Alamia 19 Sep, 2016
Really very good animation tutorial, thank you so much
Comments are now closed for this post... – UBL Designs

Judy 27 Mar, 2012
This is cool!